User invitation
Home > An Overview > Basics > Inviting a user
1 Overview
The only way for people to access your organisation is to invite them to it. This is done using the invite user icon that is found in the global options. Click on this icon w2ill open the invite user dialogue box. Completing the invite user dialogue box will send an email to the user letting them know that you have granted that email address access to your organisation.
1.1 Invite user dialogue box
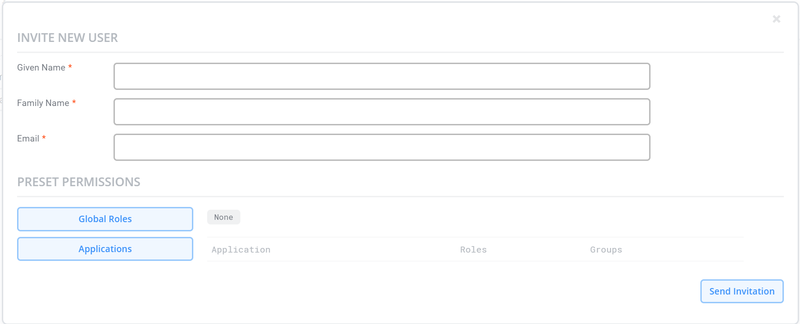
After clicking on the invite user icon you are presented with the invite user dialogue box. Complete this form for an intention to be sent through email to the addressed user for access to your organisation.
Given name Type the invited users given name here.
Family name Type the invited users family name here.
email Veloopti allows a user to have multiple email addresses associated with their user account. Each email address beyond the primary address is used for notification purposes for one or more organisations. Ty
Global roles button Use this button to pre-add the user to global roles that they will be a member of after logging in to your organisation.
Application button Use this button to pre-add the user to application roles and application user groups. They will be a member of these roles and groups after logging in to your organisation.
Send invitation button Once you have completed the invitation use this button to send it to the specified email address.

